-
 Fixing the problem of the bottle, problems and suggested solutions-2
 -
 Fixing the problem of the bottle, problems and suggested solutions-2
Updated at
2025-10-20 11:49:52

Fixing the problem of the bottle, problems and suggested solutions (2)
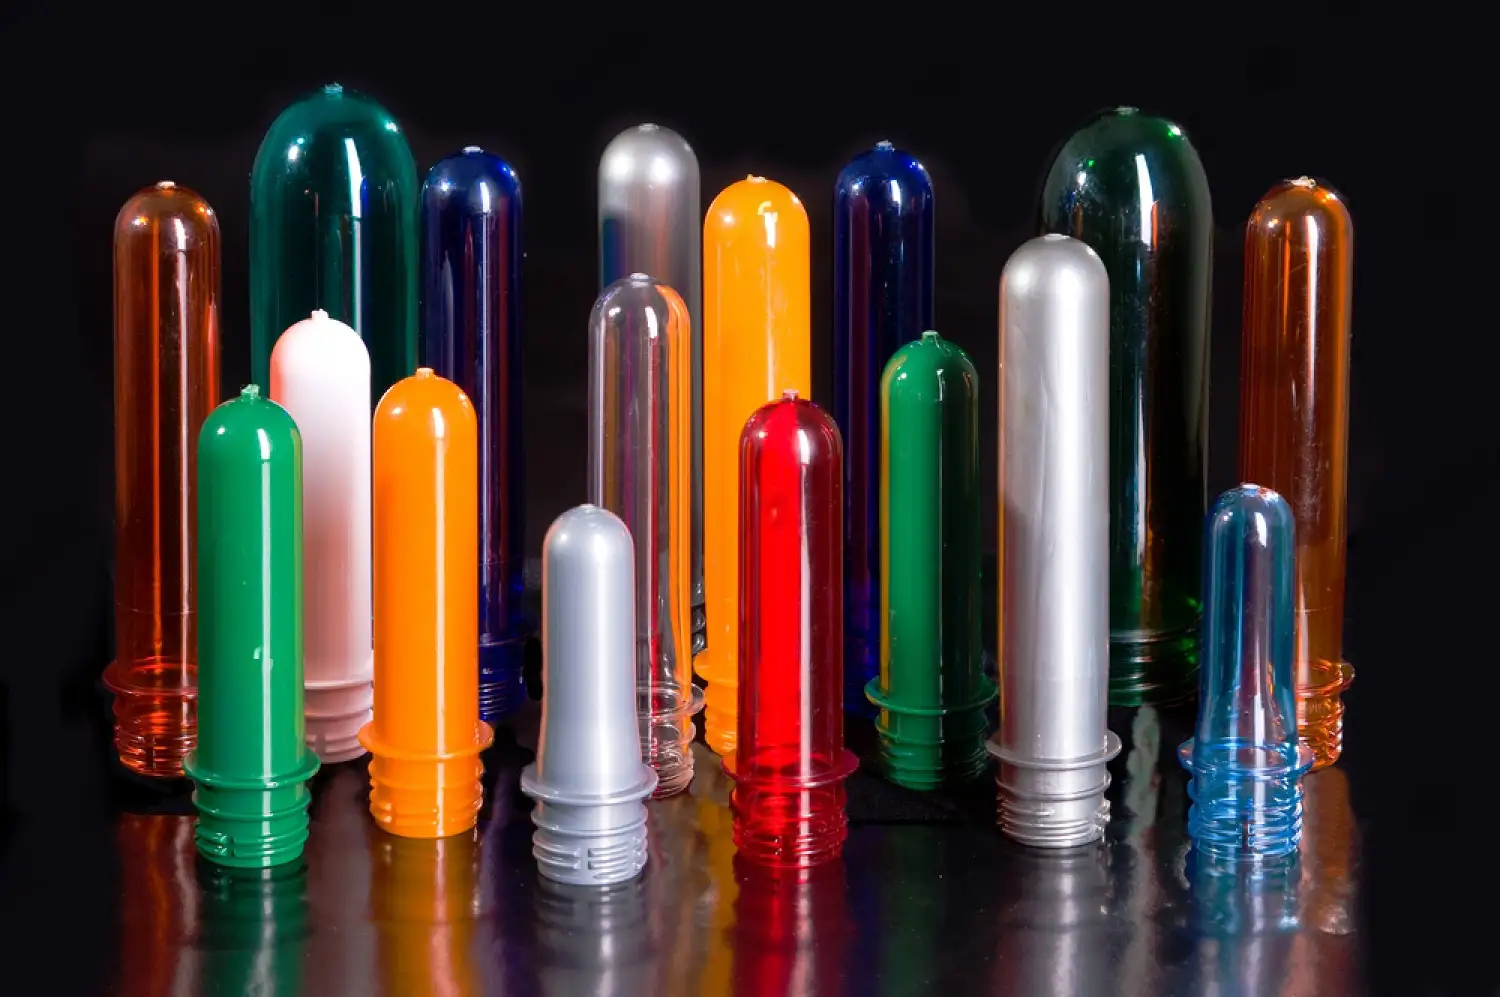
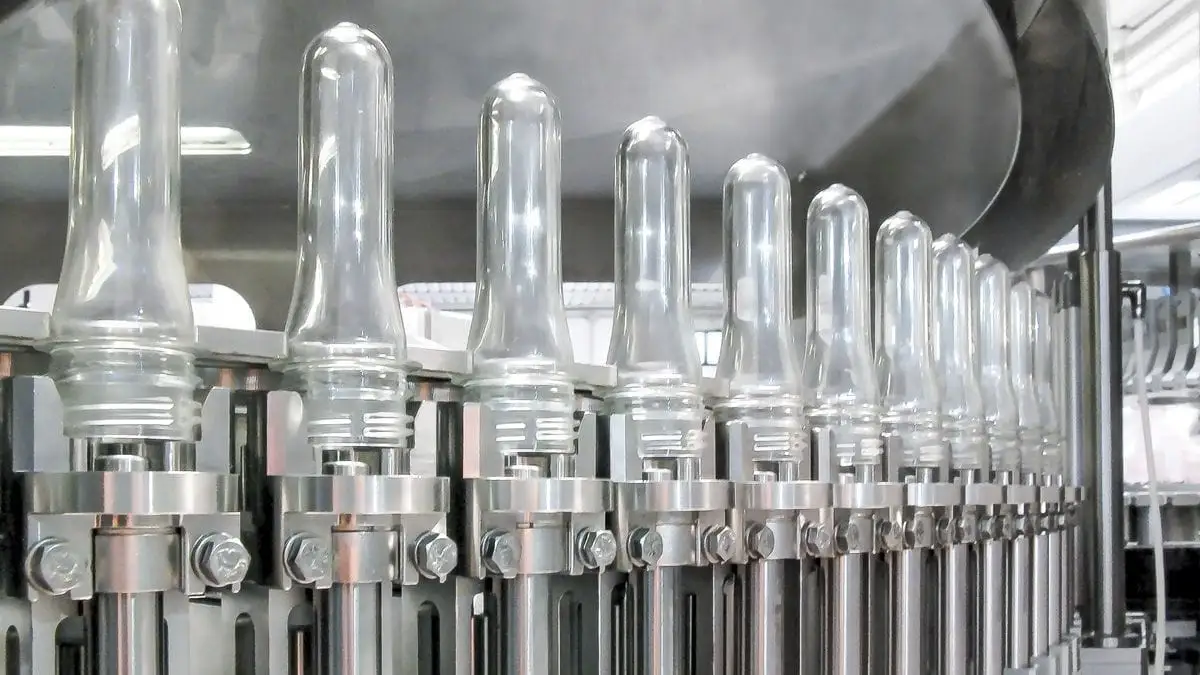
There are many defects that occur during the production and blowing process of the bottle preform. In the previous article, we presented a number of problems, the reasons for the problems and suggested solutions. And in this article, we will discuss some of them.
After the introduction and description of the problem, in most cases, the photo that shows the problem, the reasons that cause these problems, along with the proposed solution for that problem, are stated.
In this article, the reason for the problem is marked with × and the proposed solution is marked with ++.
Since there is a significant difference between single-stage (SS) and two-stage (TS) processes in bottle production, if the reason or solution is true for only one of these two processes, the titles of single-stage and two-stage are placed in front of them. has taken. If this title does not exist, that reason or solution is valid for both processes.
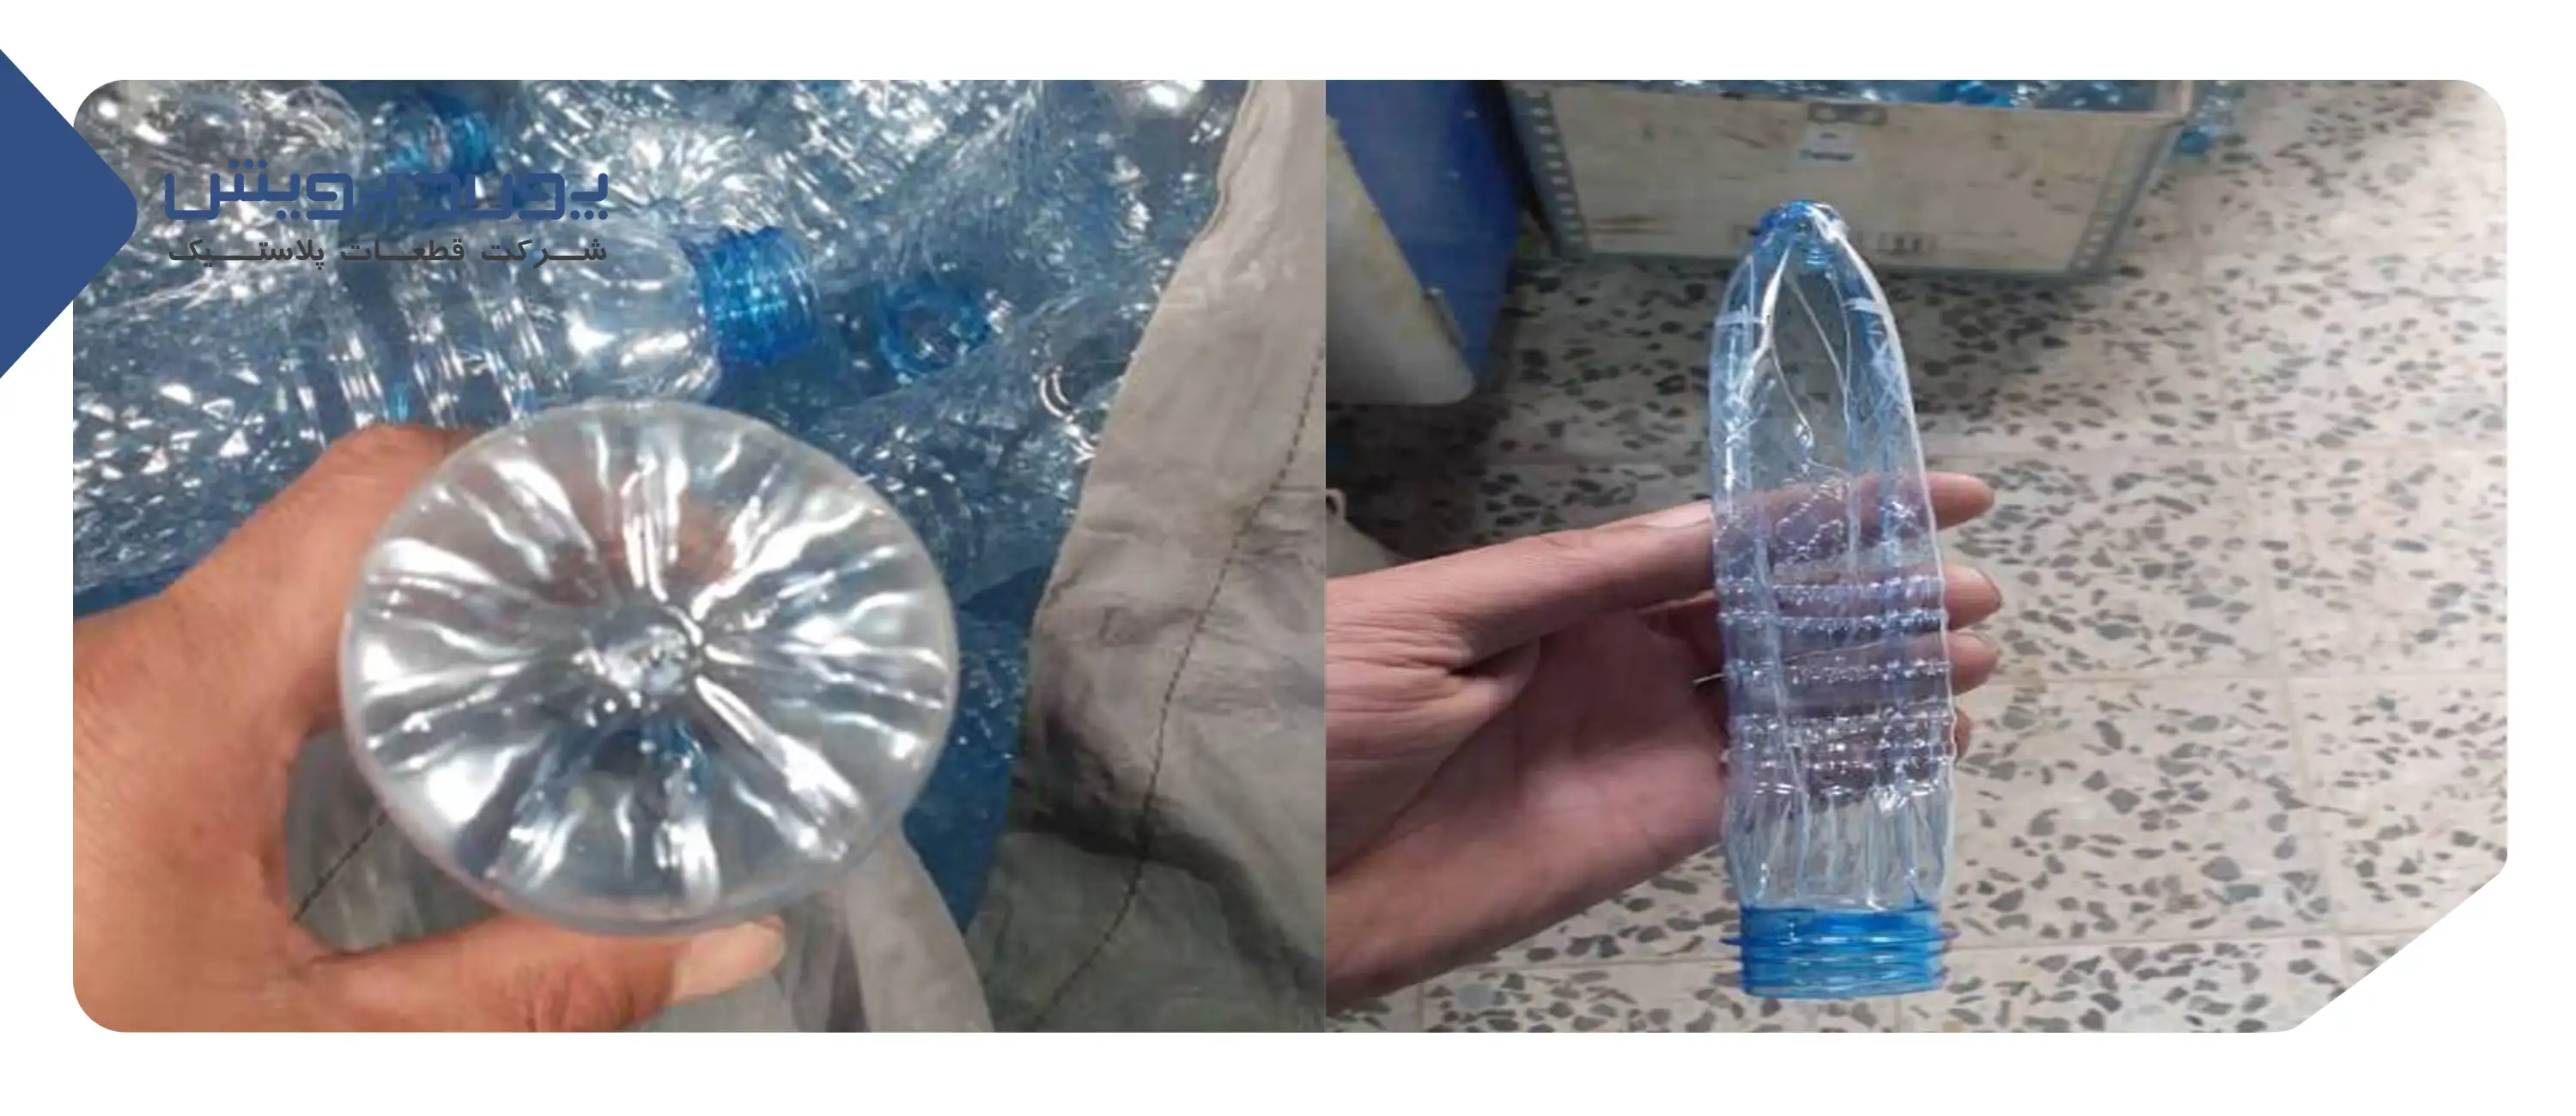
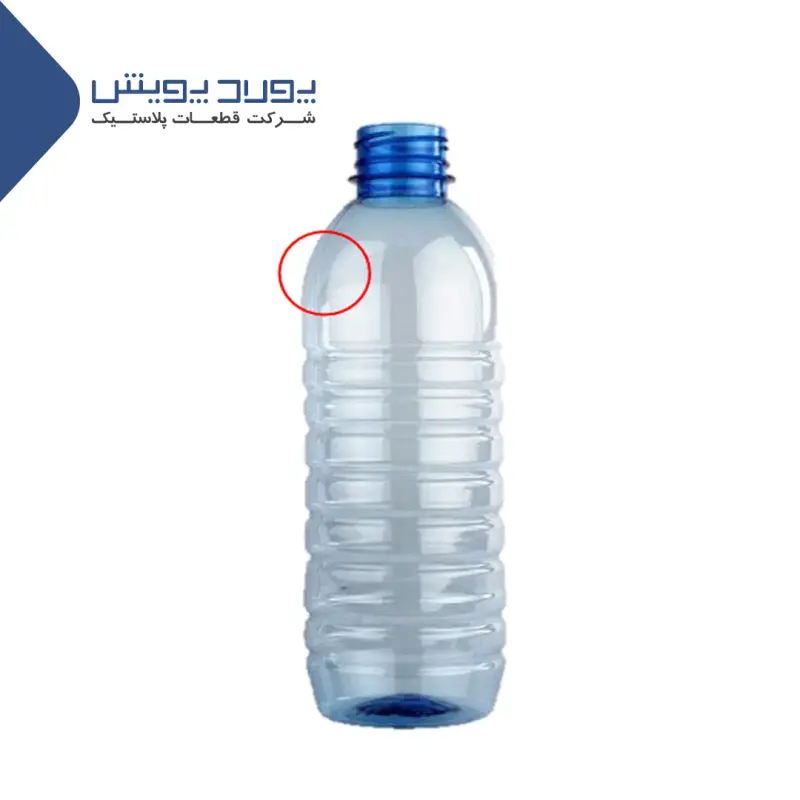
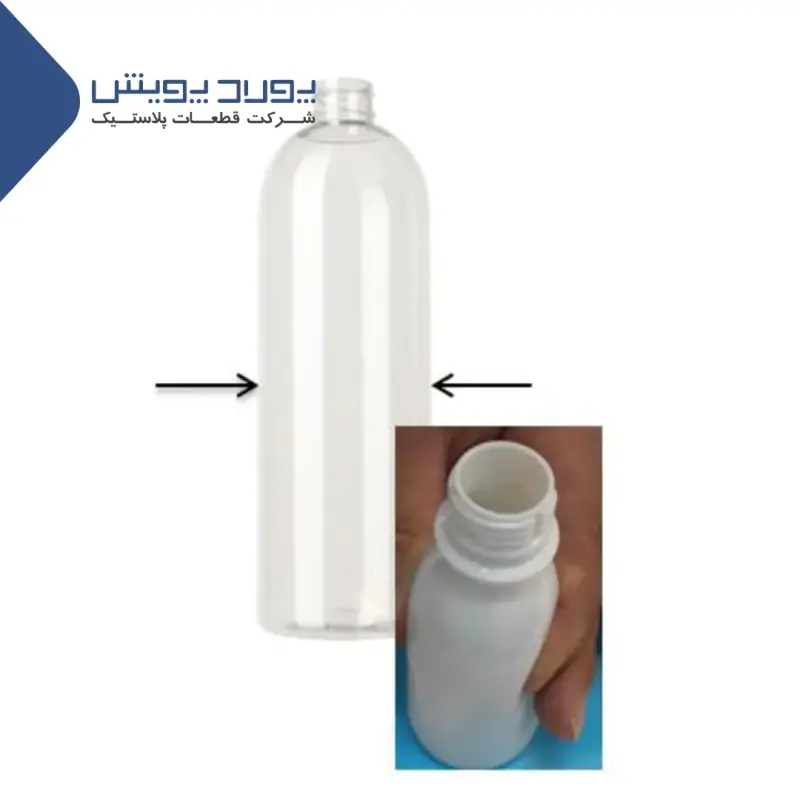
Off center gate injection input
Description of the problem:
The preform injection point is not in the center of the bottle base.
The reasons for the problem and the proposed solution:
1) The tension bar does not position the preform properly in the base position.
×× The tension rod is not adjusted correctly:
++ Adjust the height of the tension rod so that the thickness of the base is 1 mm less than the thickness of the injection inlet wall.
×× The tension rod is bent or warped:
++ If the injection inlet is always off-center on one side, remove the pull rod and roll it on a flat surface. If the tension rod is bent, it will be indicated.
2) Pre-blow pressure that is applied too early or too much will pull the preform out of the center of the tension rod.
×× Pre-blow pressure is too high or is applied early:
Use a longer pre-tail delay and adjust pressure if necessary.
3) The tail pressure is applied before the preform pull rod reaches the base of the bottle.
×× Tail pressure starts before the tension rod is fully opened:
++ Check the tail pressure delay timer or switch to a correct position.
4) The preform is tilted due to non-uniform temperature and the tension rod does not hit its center.
×× The preform bends before being stretched:
++ Check the verticality of the preforms before entering the inflatable mold.
++ Check the correct rotation of the preform inside the oven.
++ (Single-stage) Check the cooling of the preform mold.
5) The surface of the base station is too slippery and the tension rod slides out.
×× There is no recess in the surface of the base to keep the injection inlet centered:
++ Add a curve or indentation to the placement of the base.
6) The non-uniformity of the preform wall is more than 0.25 mm.
The thickness of the preform wall is non-uniform:
++ Correct preform errors.
more details:
The tension rod should attach the injection inlet to the base position of the mold so that the injection inlet is in the center of the bottle base.
In these conditions, the force of the tail pressure should not be high. The distance between the stretch rod tip (Stretch Rod Tip) and the injection inlet of the preform should be adjusted according to what is mentioned in the solution, and you should not consider this distance to be the same in all preforms.
For example, in lightweight preforms where the thickness of the injection inlet is reduced, it is necessary to change the height of the tension rod accordingly.
A hole or recess in the mounting position of the base is absolutely necessary to prevent the injection inlet from moving when the tail pressure is applied.
If the pre-tail pressure is high or applied too early, the preform may be pulled from the center of the tension rod.
In cars where the tail pressure is controlled by a timer or switch, the tail pressure may blow before the tension rod is fully opened, causing the injection inlet to go off center.
If the thickness of the preform wall is very uneven, the preform may shrink (during heating in a two-stage device and during injection in a single-stage device) and the tension rod may not hit its center at all, which of course in this situation all injection inlets They will be removed from the center to the defective preform.
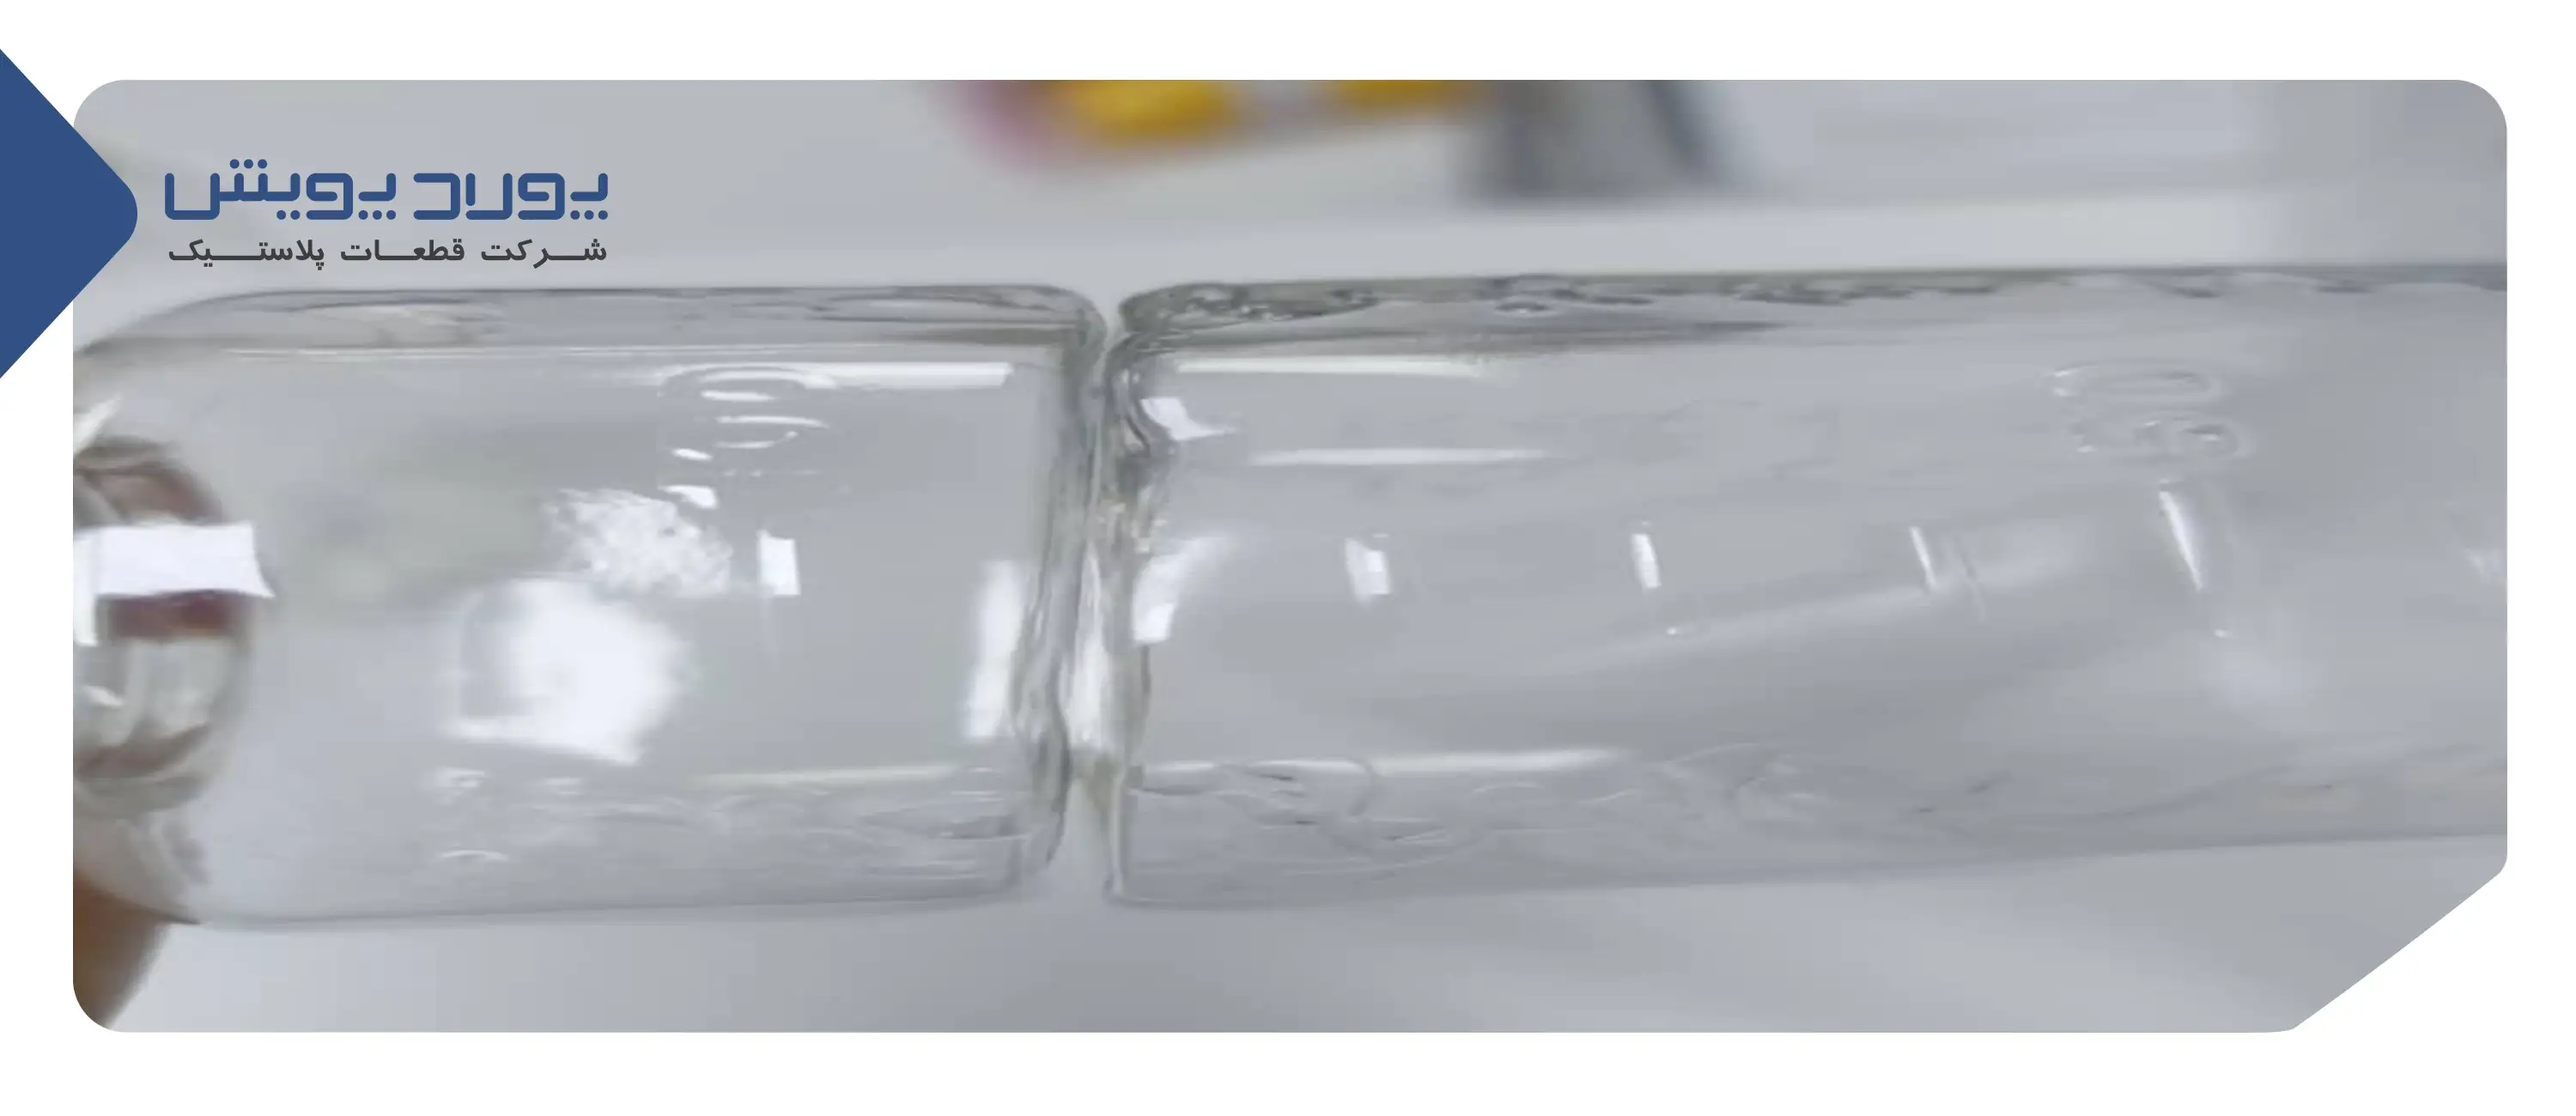
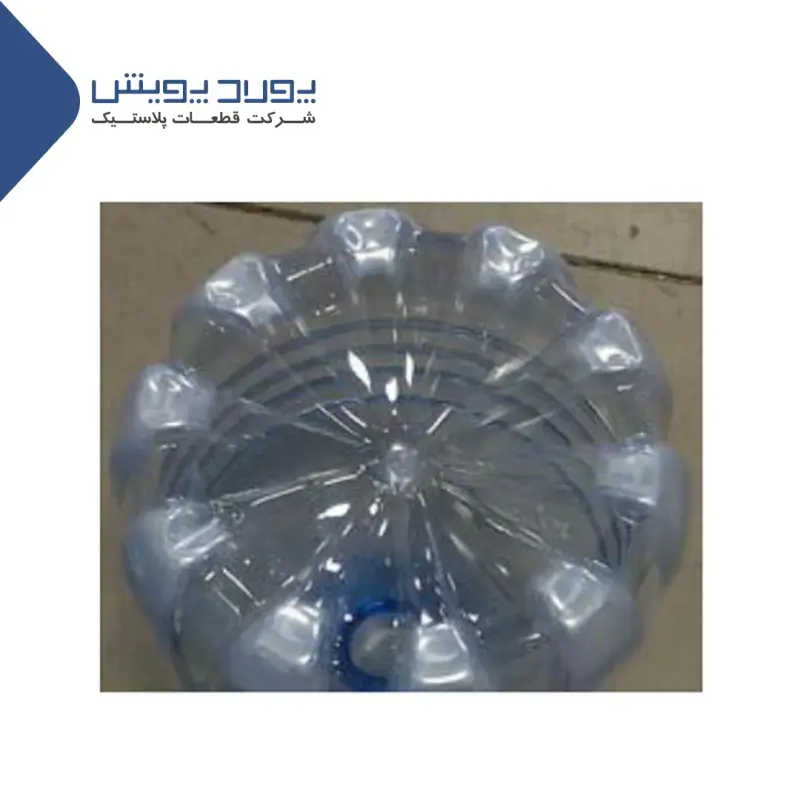
The indentation of the main wall (plate) of the Panel Sink bottle
Description of the problem:
The face of the bottle is indented. This defect is mostly seen in oval bottles, but it can also be seen in circular bottles, which causes problems in the printing and labeling process.
The reasons for the problem and the proposed solution:
1) Thin-walled bottles cannot retain their shape.
The wall of the bottle is not strong enough to maintain its shape.
++ If the material distribution in the bottle is uniform, use a preform with a higher weight.
2) The pre-blow pressure takes the material towards the walls of the mold and causes it to cool down.
×× Pre-blow pressure takes the material to the walls of the mold and causes it to cool down.
++ Reduce pre-tail pressure to 5 bar (90 psi). Also reduce the overall preform inflation temperature. Check the pre-blow pressure until you are sure it is not sticking the material to the mold wall.
3) The thinner wall is indented; no indentation is observed on the other side.
×× The injection inlet is off-center:
++ Make sure the injection inlet is centered, and the wall thickness is even on both sides of the bottle face.
4) The material cools down very quickly.
×× The template is too cold:
++ Raise the mold temperature to a maximum of 45°C (113°F).
5) The wall is not convex enough:
Check the walls of the bottle for sufficient convexity.
6) Air pockets caused by air entrapment prevent the bottle from blowing up.
×× The air discharge is insufficient:
++ Clean the air vents, add air channels in the corners.
7) The center of the plate is very thick and cold and shrinks more than the thin parts.
more details:
To prevent the material from falling during the brewing process, the wall of the bottle should be slightly convex.
When the thickness of the bottle walls reaches below 0.4 mm, it becomes more difficult to control the indentation of the bottle wall.
The proper position of the tension rod and as a result the uniform distribution of the thickness on both sides of the bottle plate is essential. When a preform without specialized settings (heating and cooling) is blown into a rectangular shape, the bottle plate becomes thicker than the side of the bottle, which also causes uneven cooling. As a result, this hard blade formed in the central area of the bottle sinks into the plate.
The dimensional ratio (including the ratio of the larger dimension to the smaller dimension), the size of the diameter of the preform (which is related to the closer dimension of the bottle) and the temperature of the preform are other effective factors in the occurrence of this problem.
Normally, the preform should be slightly cool and should not touch the walls near the mold while applying pressure.
The strain hardening of PET, which occurs during stretching, gives it strength.
When the preform is being stretched with high tail pressure, the parts of the preform that move to the far parts of the mold can also pull the central parts (even if they are the same temperature).
But if the preform contacts the walls of the mold during stretching, this stretching will not happen due to the cooling and hardening of the PET near the walls. In this situation, a warmer mold can be effective.
Proper ventilation is also important. A sufficient number of air passages in the corners of the bottle allows the PET to move faster in these areas.
The air outlet holes in the corner of the bottle will not be visible. This is because there is a lot of elongation in these areas, and it is very difficult to move the material into a hole with a diameter of about 1 mm.
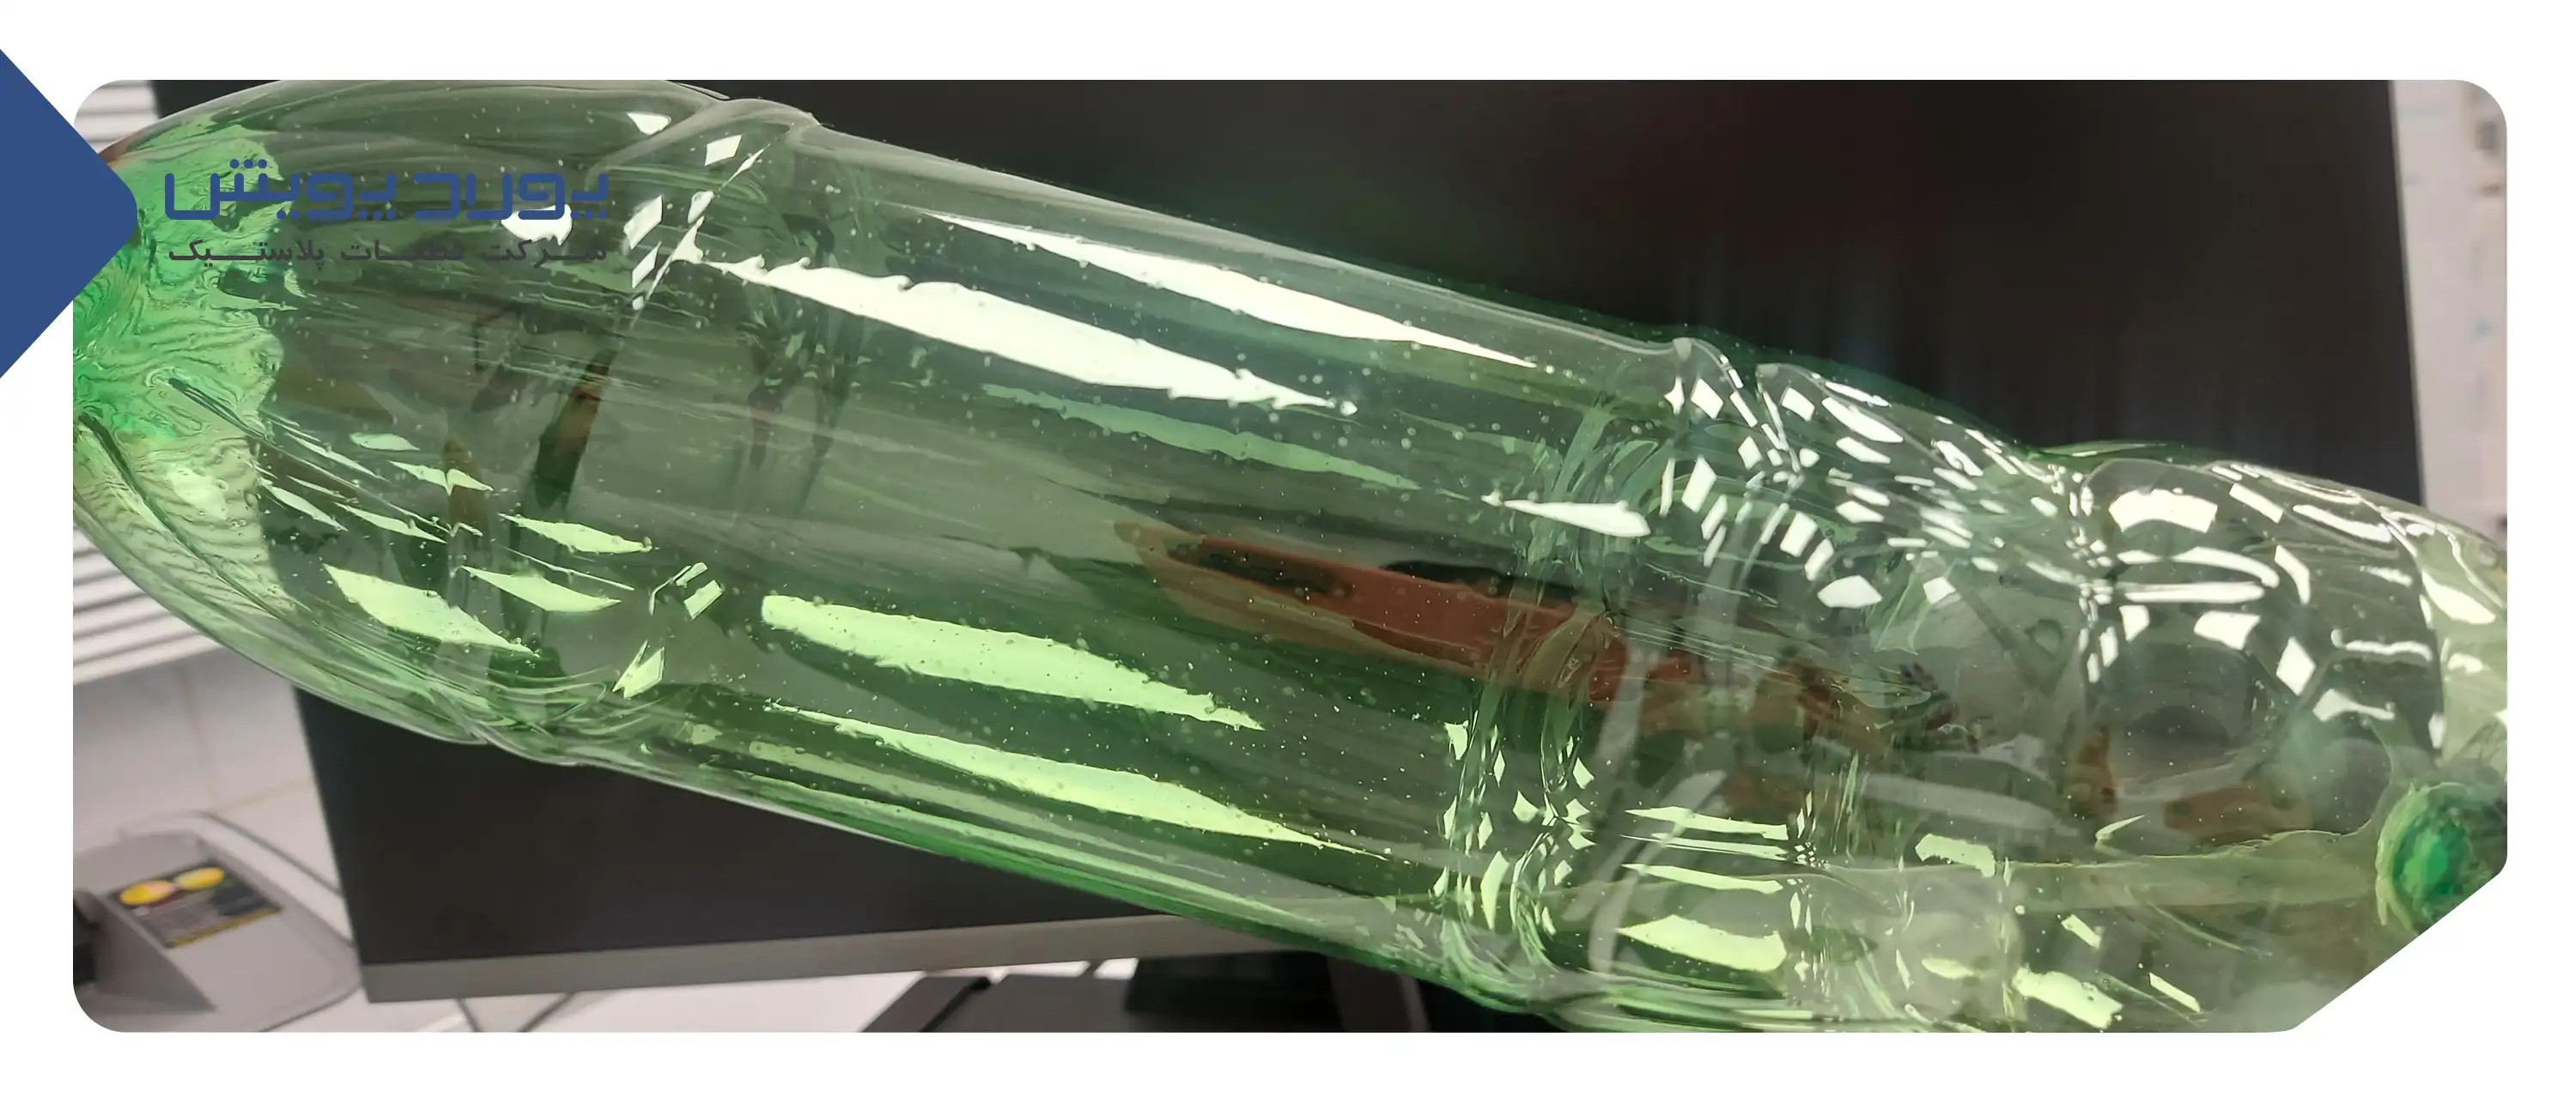
Pearlescence or Stress Whitening
Description of the problem:
White areas can be seen in the bottle. (in parts of the bottle that extend to distant areas, for example the bases in five-pin base bottles) which should not be confused with the obscuration defect.
The reasons for the problem and the proposed solution:
1) The preform is too cold.
×× (two-stage) lamp temperature settings are generally low:
++ (two-stage) Increase heating by adding a percentage to all bulbs.
++ Increase the ventilation of the oven to keep the outer wall cool.
×× (single stage) holding time or cooling time is too long:
++ Reduce cooldown by 0.5 seconds.
2) The preform is stretched and thinned too much. Any factor that causes excessive stretching of the preform causes this problem. When the preform is stretched to far angles, it becomes very thin.
×× The injection inlet is not located in the center of the bottle:
++ Make sure the injection inlet is centered.
++ Make sure that the thickness difference of the preform walls is less than 0.15 mm.
The preform heating is not uniform.
++ (two-stage) by heating the areas adjacent to the thinned areas, direct the material to these areas and reduce the heat in the thinned areas.
++ (Single-stage) Change the conditioning samba so that by cooling the areas of the preform that have become thin after stretching, it will increase the thickness and thus reduce the bleaching stress in that area.
more details:
Pearling always occurs on the inside while opacification occurs on the outside of the bottle. If you can't tell the difference, cut the bottle and pull the cut piece. , you can be sure that pearlization has taken place.
There is an absolute limit of at least 0.05 mm for bottle wall thickness. In some places where the stretching rate is higher, the molecular structures are separated from each other and bleaching stress is created.
The amount of stretching of the preform to the far areas is related to the temperature inside the preform.
When the preform is inflated, strain hardening occurs and the temperature decreases.
It is the preform and bottle design that indicates what process temperature is appropriate for a proper stretch.
The most important parameter is the inflation or tension ratio, which is obtained by multiplying the inner ring tension ratio by the axial tension ratio.
To reach a stretch ratio with values higher than 12, it is necessary that the temperature of the preform (especially inside the preform, which is stretched more) is higher. While using the preform at a lower working temperature, produces bottles with better efficiency. Of course, it is possible to obtain a bottle with a good performance from a preform with a higher temperature and a higher draw rate.
When you see a bottle with pearly whiteness (shellfish), first determine that the bottle is too thin or too cold. If it was too cold, increase. that the bottle is too thin or the preform is drawn too cold. If the area is too thin, you will need to move material from other areas to the area where the bleaching stress has occurred. If the preform was too cold, increasing the temperature will fix the problem.
Centralization of the injection inlet is also critical. The injection inlet being out of the center causes one side of the bottle to become thinner.
In a single-stage process, the internal temperature of the preform is usually higher than its external temperature because the outer part of the preform has a larger area than the inside and cools better, and usually the cooling limit in Quetta is lower than in Semba.
Decreasing the internal temperature of the preform in the areas where pearlization occurs has the opposite effect. This reduction is only effective for transferring material from thicker areas to thinner areas.
Thin Shoulder
Description of the problem:
The bottle has thin shoulders.
Reasons for the problem and suggested solution:
1) The temperature in the upper parts of the preform is higher than in other areas.
×× The temperature setting for lamp 1 or lamp 2 is high compared to other lamps:
++ Decrease the temperature of lamp 1 and 2 and simultaneously increase the temperature of other lamps.
2) The pre-tail pressure does not inflate the preform enough to hold enough material in the shoulders.
×× Pre-tail pressure is applied too late or too little:
++ Reduce pre-tail delay or increase pre-tail pressure.
3) (Single-stage) The high thickness of the material under the neck of the preform keeps more heat and thus stretches more when stretched.
more details:
Pre-brewing pressure is applied for 2 purposes:
- Prevent the preform from collapsing.
- Create a bubble in the preform with its tail, without letting this bubble touch the walls of the mold. (This bubble is the result of the natural stretch ratio)
When the pre-tail pressure is applied too late or is insufficient to inflate the cold preform, too much material is pushed towards the end of the preform and the shoulders become weak, which is usually seen as a weak bottle shell in the upper regions.
When the temperature of the lamps is adjusted, with the increase in the temperature of some lamps, it is better to decrease the temperature of the other lamps simultaneously and by the same amount. (Unless you need to change the overall temperature of the preform) So if you lower the temperature of the upper bulbs, simultaneously increase the temperature of the lower bulbs by about the same amount. Increase the changes by about 2%, until you get the right settings.
In a single-stage device, the temperature gradient is controlled by a hot runner. Naturally, the areas below the neck are cooler because they are injected earlier. But when the problem of thinness of the shoulder occurs because the thickness of the material under the throat (neck) keeps the heat in the mouth more, it will be stretched more than other parts.
×× (single-stage) There is a lot of material under the neck or the thickness of the wall of the injection gate area is low:
++ (single-stage) change the injection mold: the thickness of the material should be less in the throat and more in the walls of the injection entrance area (change the design of the preform).
++ (single-stage) Shape the ventilation foam so that it is in contact with the areas below the neck.
Under-blown Bottle
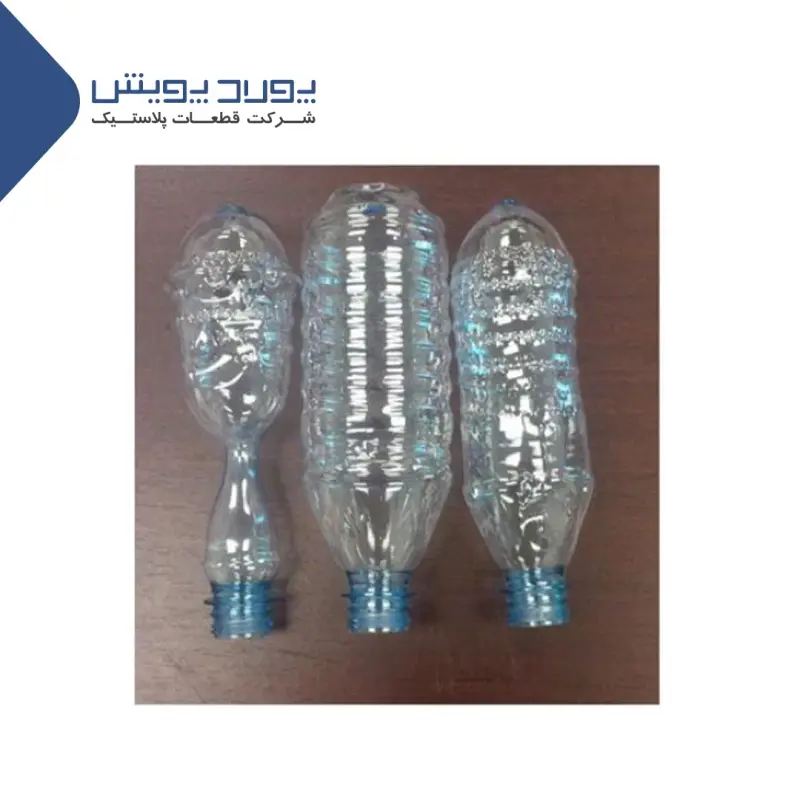
Description of the problem:
Some parts of the preform are not inflated (usually at the base) and the bottle is shortened.
The reasons for the problem and the proposed solution:
1) As the tension rod goes down and the tail pressure starts, the preform quickly becomes cold and thin. When this amorphous mass becomes too cold or too thin, it will no longer be able to stretch in other directions, such as the radius of the base or the legs of the Petaloid bottle.
×× The preform is so cold that some of its parts are not formed:
++ (two-stage) increase the overall temperature of the preform. If the unformed area is too thin, increase the temperature just above that area. Because it causes more material to move to that area and makes it thicker.
++ (single-stage) Reduce hold or cooldown time. or increase the temperature of the material.
2) If there is a long delay between the movement of the tension rod and when the tail pressure starts, the preform may cool too much and the tail pressure will no longer be able to inflate it.
×× His tail pressure is applied late:
++ (two-stage) Reduce the delay between the tension rod fully opening and the start of compression. (Sometimes called wasted time)
++ (single stage) Decrease the blow delay (if timer controlled) until all bottles are off center, then increase it by 0.03 seconds.
×× His tail pressure is very low:
++ Increase his tail pressure.
3) Leaving the injection inlet from the center of the bottle usually causes the wall to thicken on one side of the bottle. The opposite wall may become so thin that the base does not form there.
×× The injection inlet is outside the center of the bottle:
4) Air packs due to entrapment and lack of air evacuation may prevent movement towards the foundations.
×× Air holes (Vents) do not work properly.
++ Check the air holes. (Especially in the 0.5 mm heel, between the body of the mold and the location of the base)
more details:
When PET is stretched, a hard strain phenomenon occurs. This means that the polymer becomes harder and less flexible, and the PET cools during stretching.
The first thing to notice when the bottle is not fully formed is that the material is too thick or too thin.
If the area is visibly thickened (above 0.2 mm), it is cold and you should increase the temperature. If it is too thin, it will be a bit difficult. You have to take more material from other areas and direct it to this area. In two-stage devices, you can do this by changing the settings of the lamp and the time of pre-pressurization.
In single-stage devices, you can change the injection speed or change the geometry of the ventilation tube (if available).
Uneven Heel or Base
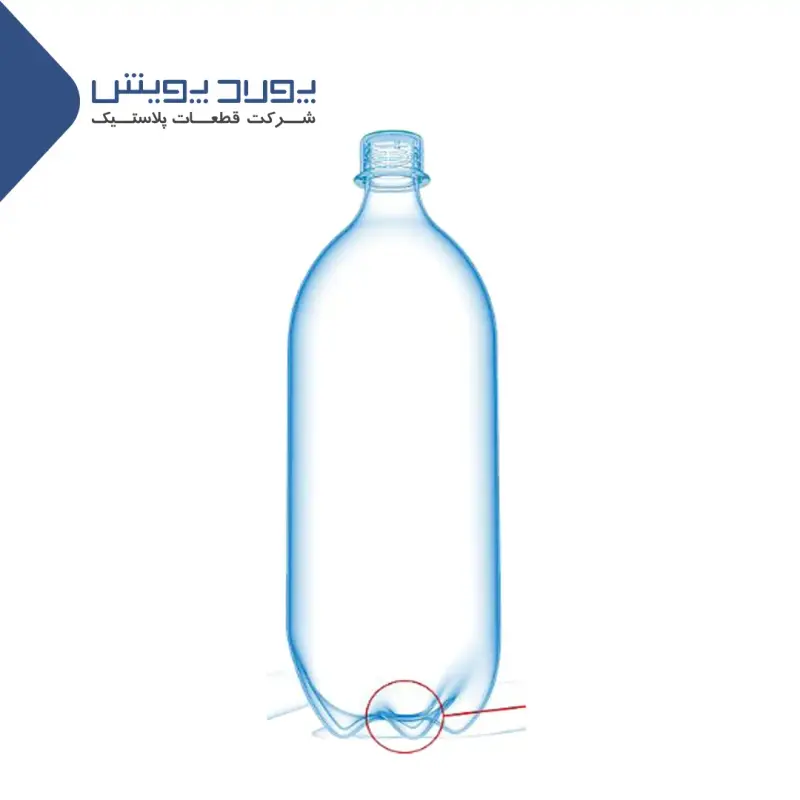
Description of the problem:
The base or heel of the bottle is not fully inflated or formed. In this case, the bottle is not stable from the base of the balance.
The reasons for the problem and the proposed solution:
1) PET material becomes cold and thin quickly through stretching and blowing applied by the stretching rod and blowing pressure. When PET becomes too cold or too thin, it may no longer be able to stretch into small gaps such as bottle end circles or bases in five-fill bottles.
×× The preform is too cold for the complete formation of all its parts:
++ (two-stage) increase the overall temperature of the preform. If the base is too thin, increase the temperature just above the part that forms the base. This will cause more material to move towards the base and make the base thicker.
++ (Single-stage) Reduce holding time or cooling time or increase material temperature.
2) If there is a delay between the opening of the tension rod and the start of the tail pressure, there is a possibility of cooling.
×× His tail pressure is applied too late:
++ (two-stage) Reduce the time interval (delay) between the release of the tension rod and the start of tail pressure (sometimes called the waste time).
++ (single-stage) If the blow pressure is controlled by a timer, reduce the blow pressure delay until the injection inlet is off the center of the bottle, then add 0.02 seconds to it.
×× The tail pressure is very low:
++ Increase the tail pressure.
3) As the injection inlet is removed from the center of the bottle, the thickness of the wall on one side of the bottle increases and the opposite wall may become thinner than the base of the bottle.
×× The injection inlet is not located in the center of the bottle:
more details:
When the PET film is stretched, the phenomenon of hard strain occurs, which increases the strength and decreases the flexibility of PET. Also, the temperature also decreases during the stretching process.
When the structure of a bottle is not fully formed, the first thing to consider is whether the area is too thick or too thin. If it is too thick (above 0.2 mm), the preform was probably too cold and you need to increase the temperature. If it is too thin and therefore hard, you need to direct more material to that area from other parts. In two-stage devices, you can apply these changes using the settings of the lamp and pre-flow pressure.
In single-stage devices, you can apply these settings by changing the injection speed and changing the geometry of the ventilation valve (if available).
Uneven Wall Thickness
Description of the problem:
When the wall thickness is measured around the bottle, a difference of more than 0.1 mm is observed.
The reasons for the problem and the proposed solution:
1) When the injection inlet is not located in the center of the bottle, the wall thickness increases in the direction of the injection inlet.
×× The injection inlet is not located in the center of the bottle.
2) A drag ratio above 8 is required to achieve a proper orientation.
×× The traction rate is too low.
++ Lower the preform temperature as much as possible to achieve adequate orientation.
3) The preform temperature is non-uniform
The temperature of the viscous melt in the single-stage process or the limping of the preforms in the oven in two-stage devices cause the non-uniformity of the heat of the preform.
(two-stage) Check the preforms inside the oven If there is a problem with the circulation of the preforms in the oven or if the preforms are limping (staggering) check the insulators (Mandrel).
4) Samba deviation that leads to a large change in the thickness of the preform wall, and cannot be compensated by the pressure of the tail during the tailing stage.
×× The preform wall has a thickness difference greater than the standard difference. (This number depends on the length of the periphery and its thickness)
++ Control the thickness of the preform wall. If the difference is greater than the acceptable value, correct it.
more details:
For the uniformity of the bottle wall, you must:
- The thickness of the preform wall should be uniform.
- The injection inlet should be in the center of the bottle.
- The preform should be drawn with the lowest ratio.
If the injection inlet is in the center, the non-uniformity of the wall thickness is either related to the thickness difference in the preform wall or the non-uniformity of the preform temperature in the oven (working temperature or temperature gradient of the preform for blowing).
Even a small temperature difference in the oven (which is normal in a two-stage machine) at a very low draw rate can lead to a thickness difference in the bottle wall. Sometimes inflating the preforms at a lower temperature can be a solution.
But the best solution is to use preforms that create a higher stretch rate.
In single-stage devices, the temperature gradient of the preform comes from the hot runner. The way to change and counteract this temperature gradient is to lower the injection speed in order to reduce the heat of the viscous melt. Lowering the overall temperature of the preform and using the air conditioner (if available) to adjust the temperature difference will also be effective. It is also possible to apply water flow in core or matrix as a preference. (In other words, the injection cavity was connected with the blow cavity) which, of course, is difficult to design and is used as a last resort.