-
 Preform production process and the effect of temperature on preform production
 -
 Preform production process and the effect of temperature on preform production
 -
 Preform production process and the effect of temperature on preform production
 -
 Preform production process and the effect of temperature on preform production
Updated at
2023-08-13 12:13:25

Preform production process and the effect of temperature on preform production
Packaging is one of the most sensitive and at the same time the most decisive stages of product supply and consumption. Its importance is to the extent that it even affects the quality and content of some materials, and many consumers attribute part of the quality to its packaging.
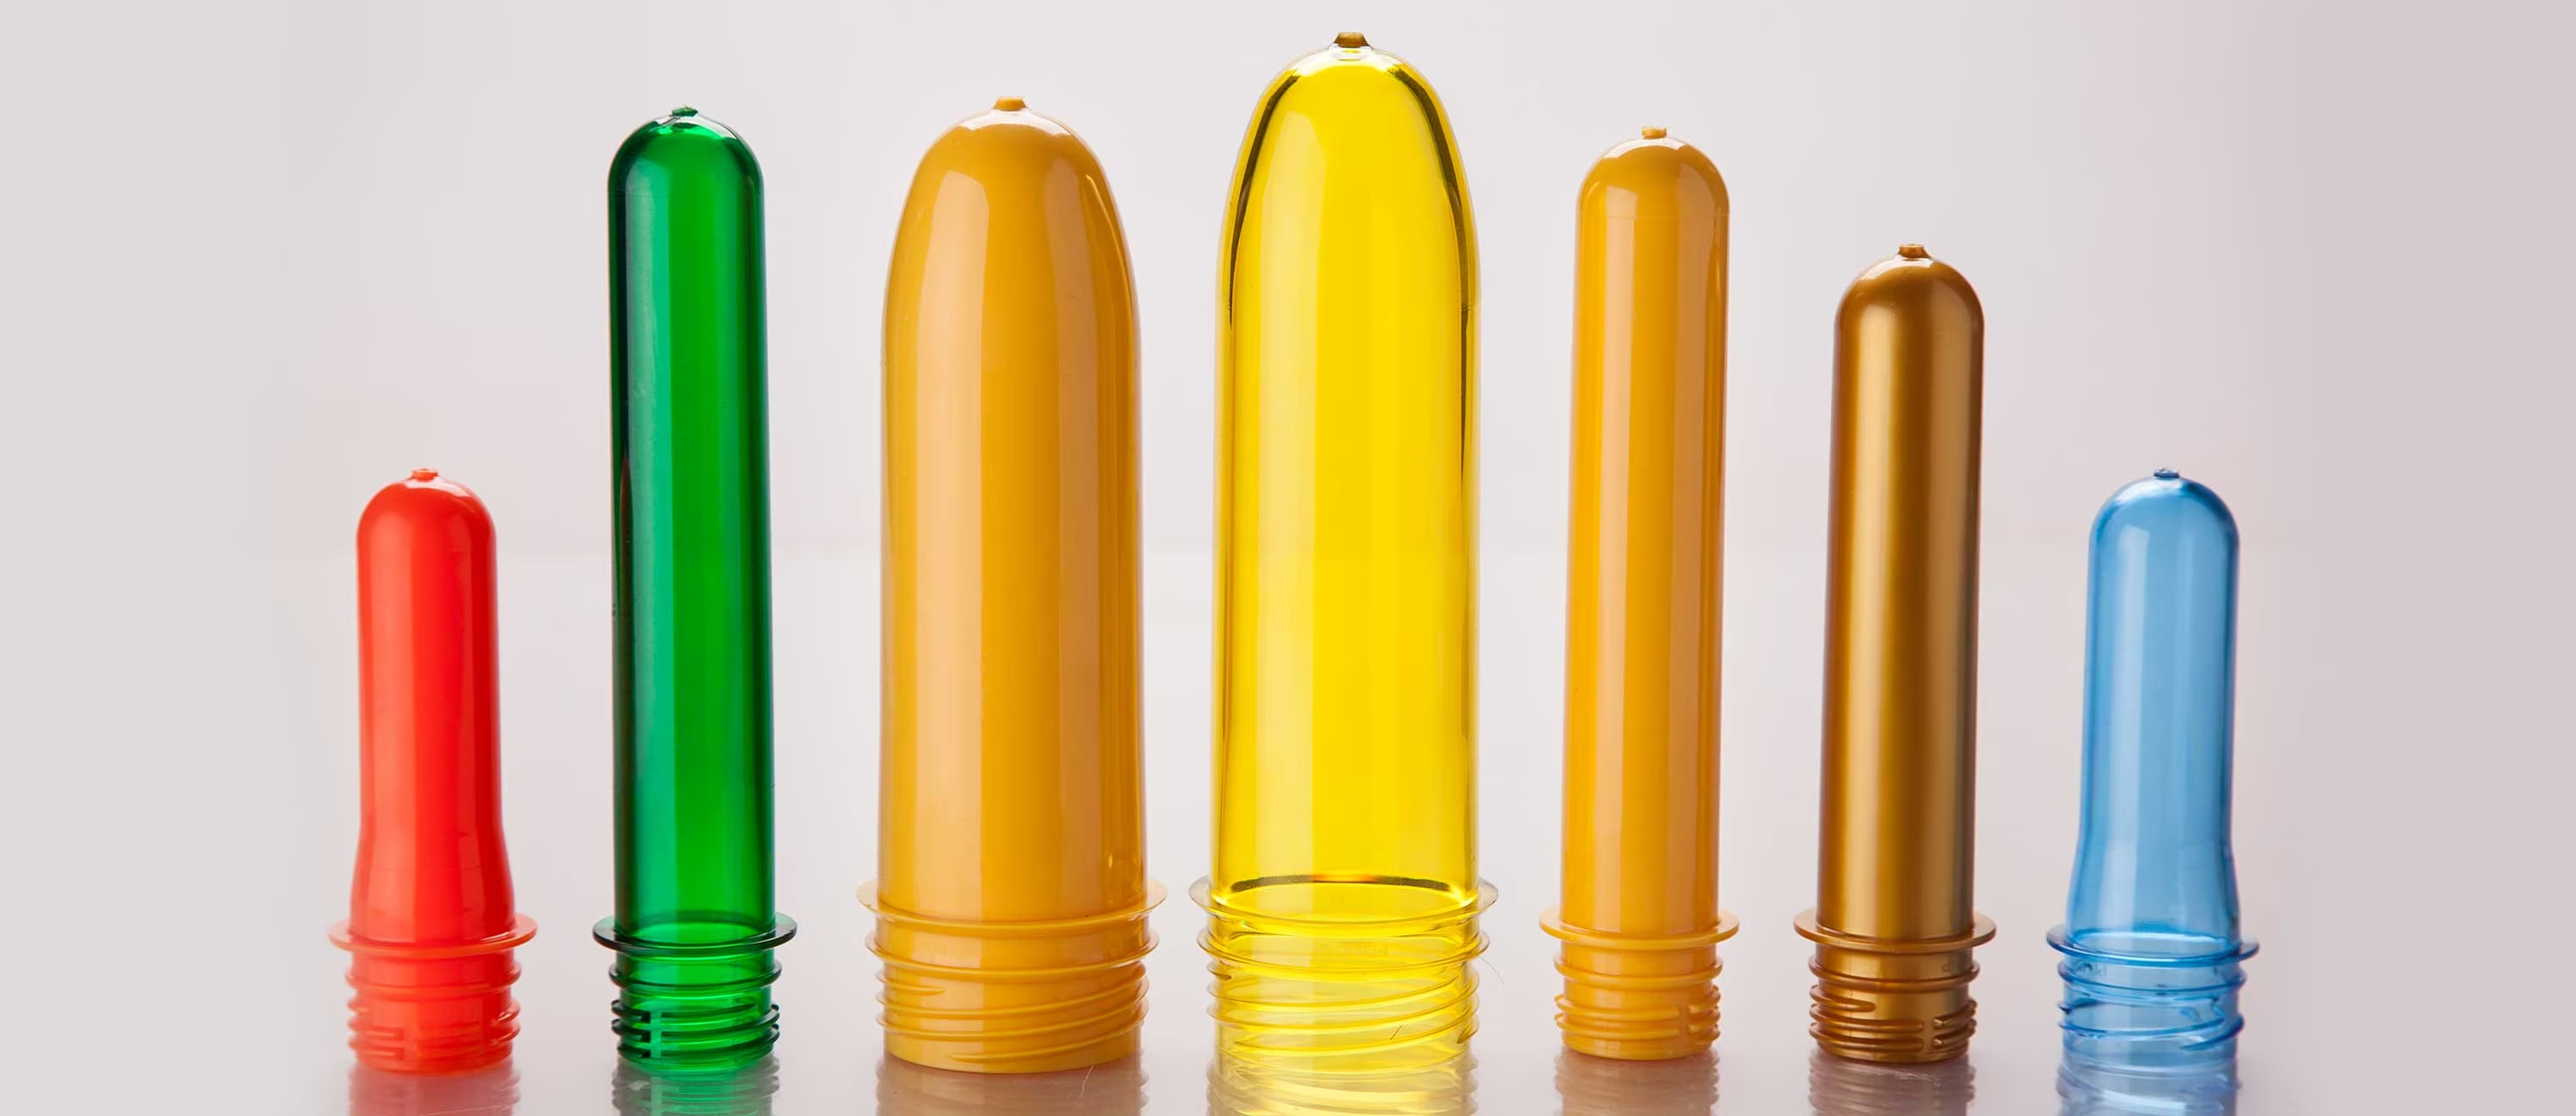
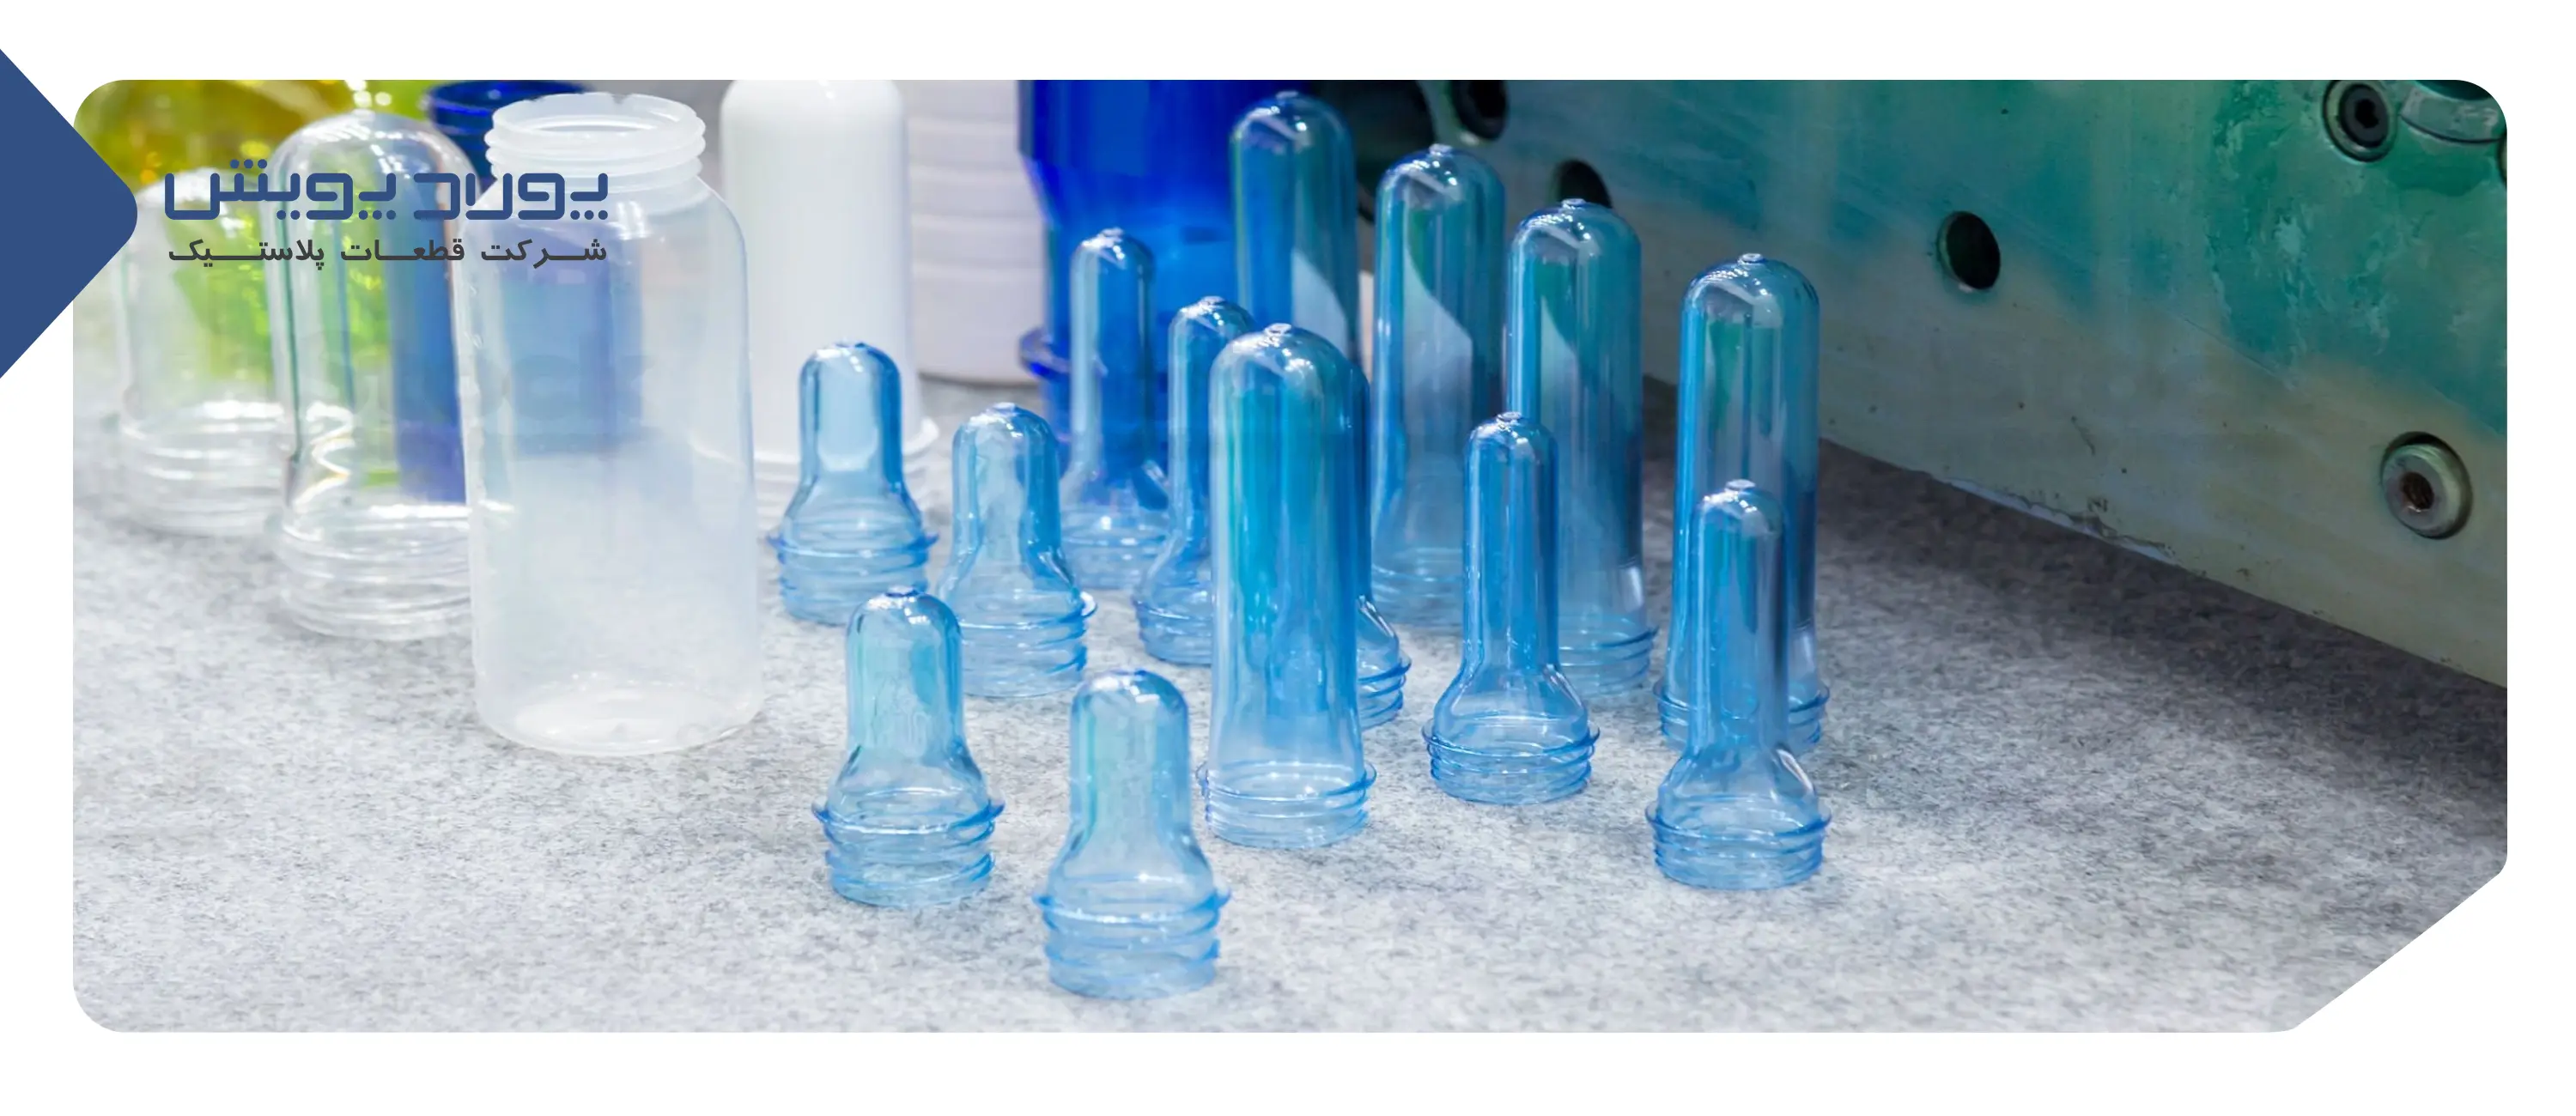
PET bottle is one of the most widely used types of packaging, which is used to pack a wide range of products. Therefore, it is necessary to improve the quality of PET bottles along with the increasing growth of its applications.
In this article, important points are mentioned that are important to start the PET bottle preform production process:
Starting a new process to produce PET bottle preform
Before starting the process, observe the following:
It is very important that the temperature of the preforms be the same before entering the wind machine, because the process settings change according to each preform.
In the first step, the lamps are adjusted according to the experiences related to similar preforms and the result is examined.
A suitable temperature gradient can be created for almost any machine or preform.
A machine can be between 1 and 24 ounces and a preform may be between 2 and 5 mm thick.
As will be explained, the temperature of lamp 1 (and maybe lamp 2) should be at the highest level. It is recommended that the temperature of the lamps does not go above 95% in order to control the temperature increase during the start-up process.
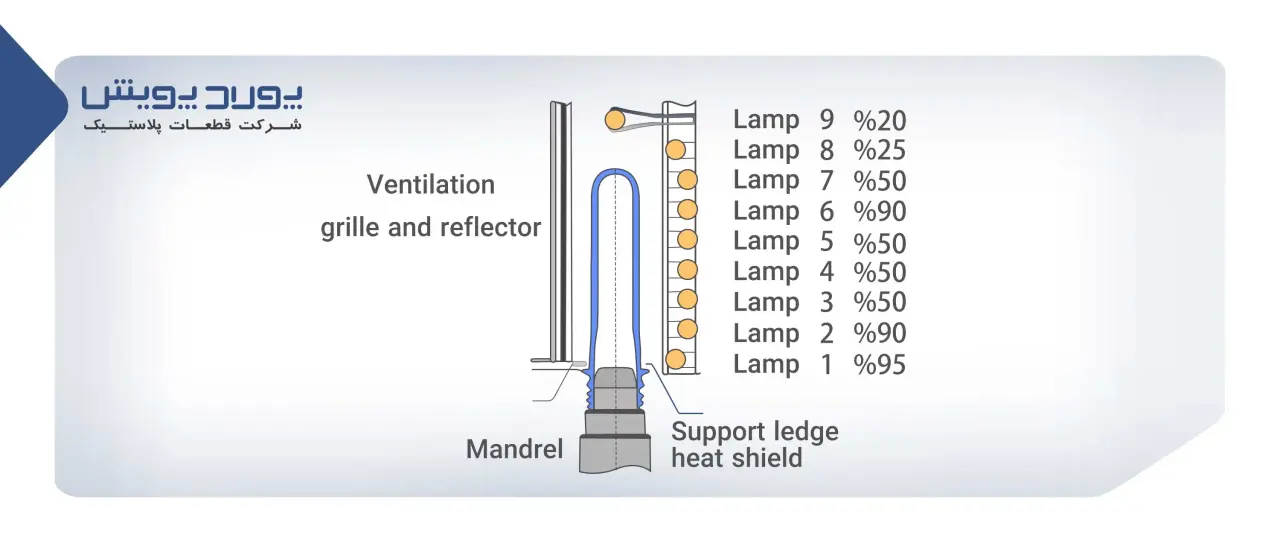
Lamps that cover central areas should have a lower temperature. Because in these areas, they get heat from the lamps above and below. If the efficiency rate of the lamp and the thickness of the wall allow, instead of all the lamps being on, you can put some of the lamps at a higher temperature and turn off some of them. It is more advantageous to work at lower temperatures.
(For example, lamps 3-4-5 and 7 are candidates for switching off.)
When you have a difficult bottle to inflate, get creative and make changes through experience, trial and error. This challenge can start from the relationship of light bulbs on each other. Only experience will tell you which bulb will be the right one to turn off.
At the beginning of the process, the ventilation (cooling) should be set to a medium value. After a period of time has passed since the device started and inflated a number of preforms, you can determine the exact amount required for the cooling fan. For the wind machine, it takes about 15 minutes from the time of initial start-up (cold start) to stabilization of the process.
Start the inflation process by placing 6-10 preforms and wait until the preforms are baked and then inflated.
The lamp setting at this stage should be higher than expected at the time of manufacture, as the system is still cold in this condition.
This helps to reduce the air pressure at this stage by 20 bar.
The bottle may burst at the end or along the body. In this case, the preform is probably too cold or the base is warm and the body is cold. When the preform wall is overheated, it may burst from this area. Because other areas are cold and can not be stretched. Knowing the location between the bulb and the bottle wall can be helpful.
To adjust the temperature and avoid the bottle from bursting, test it after placing the preform in the oven.
When the preform has reached the given temperature, the walls of the preform should touch each other with the pressure of the fingers from the inside, and return to their original position when they are released. If the walls stick together from the inside, the preform is too hot.
Use the infrared sensor to read the temperature as a guide. This temperature should be 10 to 25 degrees higher than the actual preform temperature.
Never leave a car that is warming up without a preform. The device's insulation can become so hot that it causes the neck of the preform to deform. This can occur during startup or other times when the device stops heating for any reason. In this situation, sometimes the preforms stick to the stretch rod and make it very difficult to move. In some machines, there are special blowing settings for cleaning and separating the preform from the bottle mold. Short high-pressure air jets are usually suitable for separating the preform from the drawbar. Applying the tail manually can also compensate for the lack of this system in some cars.
One of the usual processes in bottle production is controlling the thickness of the bottle wall by the operator and adjusting the lamps accordingly.
When the wall thickness is sufficiently uniform, monitor the oven temperatures and see if it is possible to lower the temperature below 90°C. These settings are required in cases where high quality bottles or high tensile rates are required, with regard to the lamp with a higher temperature and when all the lamps are on. The operator must determine if he can lower the temperature of the preform without encountering pearling (shelling) problems. The preform should be blown at the lowest possible temperature to produce the best bottle.
Increase the temperature of the cooling fan until pearly whiteness (shelling) appears. If the temperature reaches 85°C and the bottle shows no signs of pearly whiteness (shelling), then recheck the wall thickness. A row of lamps responsible for creating thinner walls is identified and their temperature is reduced successively or some lamps are turned off.
If pearly whiteness (shelling) is observed, the operator should recheck the wall thickness. Reduce the cooling temperature or slowly increase the temperature of thicker areas. If pearlescent (shelling) is eliminated, it can be considered the best setting to produce a good quality bottle of that particular preform.
Balance between air evacuation and preform heating
In two-stage machines, the heat of the lamps in the oven not only increases the temperature of the preform, but also increases the temperature of the oven environment. Therefore, in all these machines, fans are designed to remove hot air.
In some of these machines, the speed of these fans cannot be adjusted, and the lamps alone determine the temperature of the oven. When the fan speed is adjustable, the temperature of the oven should be kept below the temperature required for baking. It is very difficult to give exact numbers for controlling the oven temperature, because the thermocouples that measure the oven temperature are located in different parts of the oven and therefore show different numbers.
Since the temperature inside the preform should be higher than the temperature outside it (because the inside of the preform is stretched more) and the circulating air affects the temperature outside the preform more than the inside, so if the temperature of the oven is lower than the air temperature is kept, the outside of the preform becomes colder than the inside.
When pearlescence or stress whitening occurs, increasing the temperature of the lamps and increasing the fan speed at the same time may be beneficial. You have to remember that the defect of pearl appearance (shelling) only happens inside the bottle.
As a general rule, a preform with a lower operating temperature will produce a better performing bottle. The pearlescent defect (shelling) determines how much the preform temperature can be lowered.
Therefore, keep the air temperature of the oven low and allow the overall temperature of the preform or the average temperature inside it to decrease as much as possible.
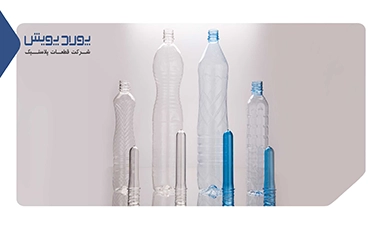
Taking these considerations into account is essential for producing high-performance bottles, such as carbonated beverage (CSD) bottles, rather than those used for other applications.
Proper distribution of wall thickness is necessary and to achieve this goal, oven temperature should be optimized.
Adjusting the temperature of the preform
Preform temperature setting is very different in two-stage and single-stage devices.
In two-stage devices, the temperature of the preform is determined by the settings of the lamps, the fan speed, and the time the preform stays inside the oven.
When you want to change the overall temperature of the preform without changing the temperature gradient, you have to remember that a 2% change from 30% heating is different from a 2% change from 90% heating.
Suppose the temperature of your bulbs is similar to the following:
Lamp 1 88% Lamp 5 40%
Lamp 2 73% Lamp 6 42%
Lamp 3 53% Lamp 7 35%
Lamp 4 45% Lamp 8 58%
If you want to increase the heat without changing the temperature gradient, you must apply the same percentage increase to all zones. A 5% increase in overall temperature would mean an increase of about 2% for lamp 7 and an increase of over 4% for lamp 1.
You can get the percentage increase value for each lamp by multiplying the percentage number of the desired lamp by the total percentage increase value.
For example, the 5% increase of lamp 7 in the example above is calculated as follows:
That is, about 2% increase, 35*0.05=1.75 ≈ 2
or for bulb 1:
That is, above 4%,
the increase is 88*0.05=4.44 ≈ 4
You do not have to apply these figures exactly. In the above example, the temperature of lamps 4, 5, 6 and 7 can be increased by 2%, the temperature of lamps 3 and 8 by 3% and the temperature of lamps 1 and 2 by 4%. In this condition, you have maintained the temperature gradient and at the same time you have increased the temperature of the preform.
In single-stage devices, preform temperature is controlled by the following factors:
Barrel, hot runner and nozzle temperature
Injection speed
Holding time (Hold Time) and holding pressure to a lesser extent
Cooling Time
Time and temperature of ventilation (if any)
An increase in storage time and cooling time increases the production cycle and thus increases the finished price. Therefore, if the cylinder and hot runner temperatures are above 275 degrees, these temperatures must be controlled first.
The injection speed changes the temperature gradient of the preform. Slowing down the injection rate will give the material more time to cool, which is usually not a good idea unless absolutely necessary. Therefore, holding time and cooling time are usually used instead.
Ventilation is more suitable for cooling specific areas (rather than cooling the entire preform), so it is only available for special purposes.
Finding the relationship between preform temperature and wall thickness
In two-phase devices, this relationship is determined by marking the location of the lamps on the preform. Since most ovens are height adjustable, of course the height should be adjusted first.
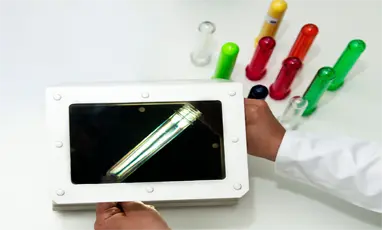
It is best to mark the preform by scratching, as the colored ink of the marker changes the absorption of heat. To distinguish the bottle at the brewing stage, you can mark the neck with a marker. In high-speed machines, it is almost impossible to find a marked bottle after exiting the machine. But you can find the desired bottle when the bottles are arranged to be placed on the pallet. (as shown below)
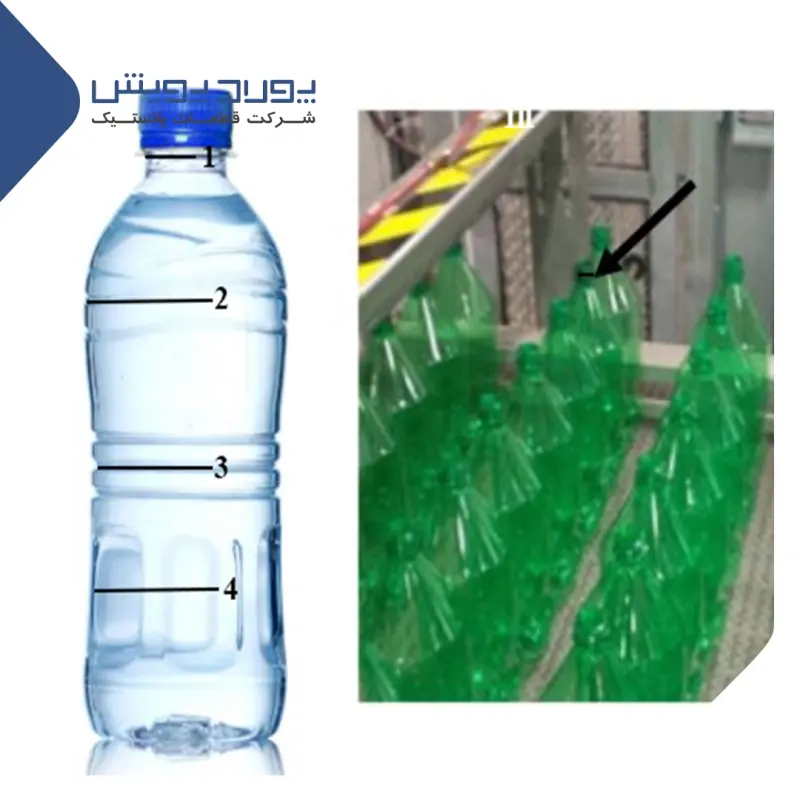
Sometimes with the help of this method and by seeing the first line on the bottle, you can check if the oven is at the right height or not.
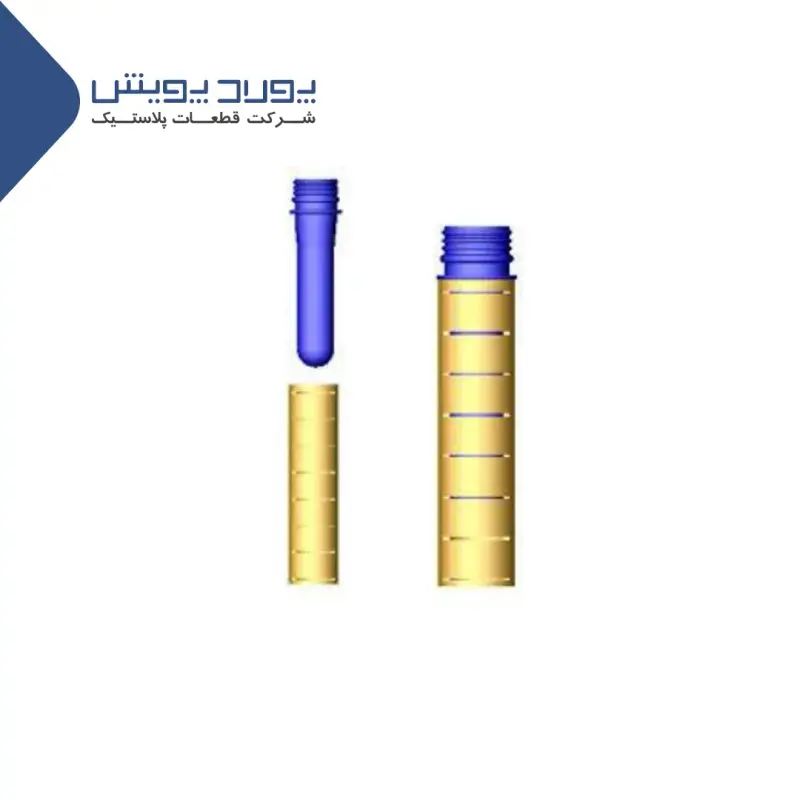
If you can use a tube like the one in the figure, it will be much easier to mark the preform.
Of course, before that, you should make sure that the height of the oven is suitable. After you have applied the desired changes in the output temperature of the lamps, you should also review the location of the lamps. Because if their time is changed, it will affect the temperature gradient.
In this section, the marking method is described in detail:
Place a cold preform on the mandrel inside the oven, measure the distance between the bottom of the neck support ring (NSR) of the preform and the center of each bulb. Determine the position of the lamp with the preform after measuring the desired distance with a steel ruler by scratching its surface. Do not use marker pens for marking because the color changes the thermal properties of the PET.
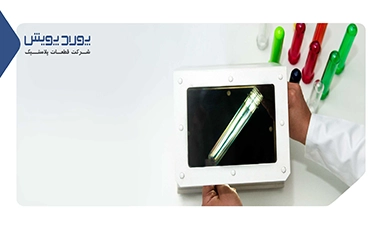
Special pipes can be used to simplify the work. The inner diameter of this tube is large enough to accommodate the preform, yet smaller than the neck support ring (NSR) and won't come out when the preform is inserted. The distance between the grooves is determined by the distance between the lamps. By scratching the surface of the preform between the grooves along the tube, which are created in the path of the lamps, the preform is marked. These markings may be barely visible on the preform, but once the preform is inflated, the markings will be visible on the bottle. Blacken the scratched preform neck so that it is easily recognizable after inflation. Now inflate the marked preform and check the resulting bottle. When the bottle is placed in front of a light source, the scratches are fully visible. Now mark the scratches on the bottle with a marker pen. It is suggested to cut the bottle lengthwise and measure the thickness of the wall.
If you have a device to measure the thickness of the hollow holes, you can eliminate the cutting.
After the information related to the collection wall thickness distribution and the lamp locations are known, the lamp settings can be changed if needed. Thicker areas require more heat and vice versa.
Always remember that in the process of inflating each part of the preform, it affects the other parts.
The base has a special function in this process, because the tension rod is placed on the base of the preform and starts to push it. Temperature, wall thickness and the structural integrity of the base (for example, the shape of the base) all together determine the amount of base elongation. (Before other parts of the preform are drawn.)
In single-stage machines, knowing which part of the preform ends up in which part of the bottle is a bit more complicated. Another method will be helpful in this case, in this way, according to the geometry of the bottle, cut it into the required number of pieces and then weigh them. Then start cutting the preform to reach similar weights. Now you may be able to see how the preform and bottle geometry are related. This method may require a lot of effort, but it is effective in optimizing the conditioning core.


.webp)
.webp)